Full Systems: When “Good Enough” Isn’t Good Enough
The problem:
Using one solution in isolation leaves gaps in protection.
The solution:
A complete ESD matting system combines everything needed to control static across the environment:
• Bench mat + floor mat
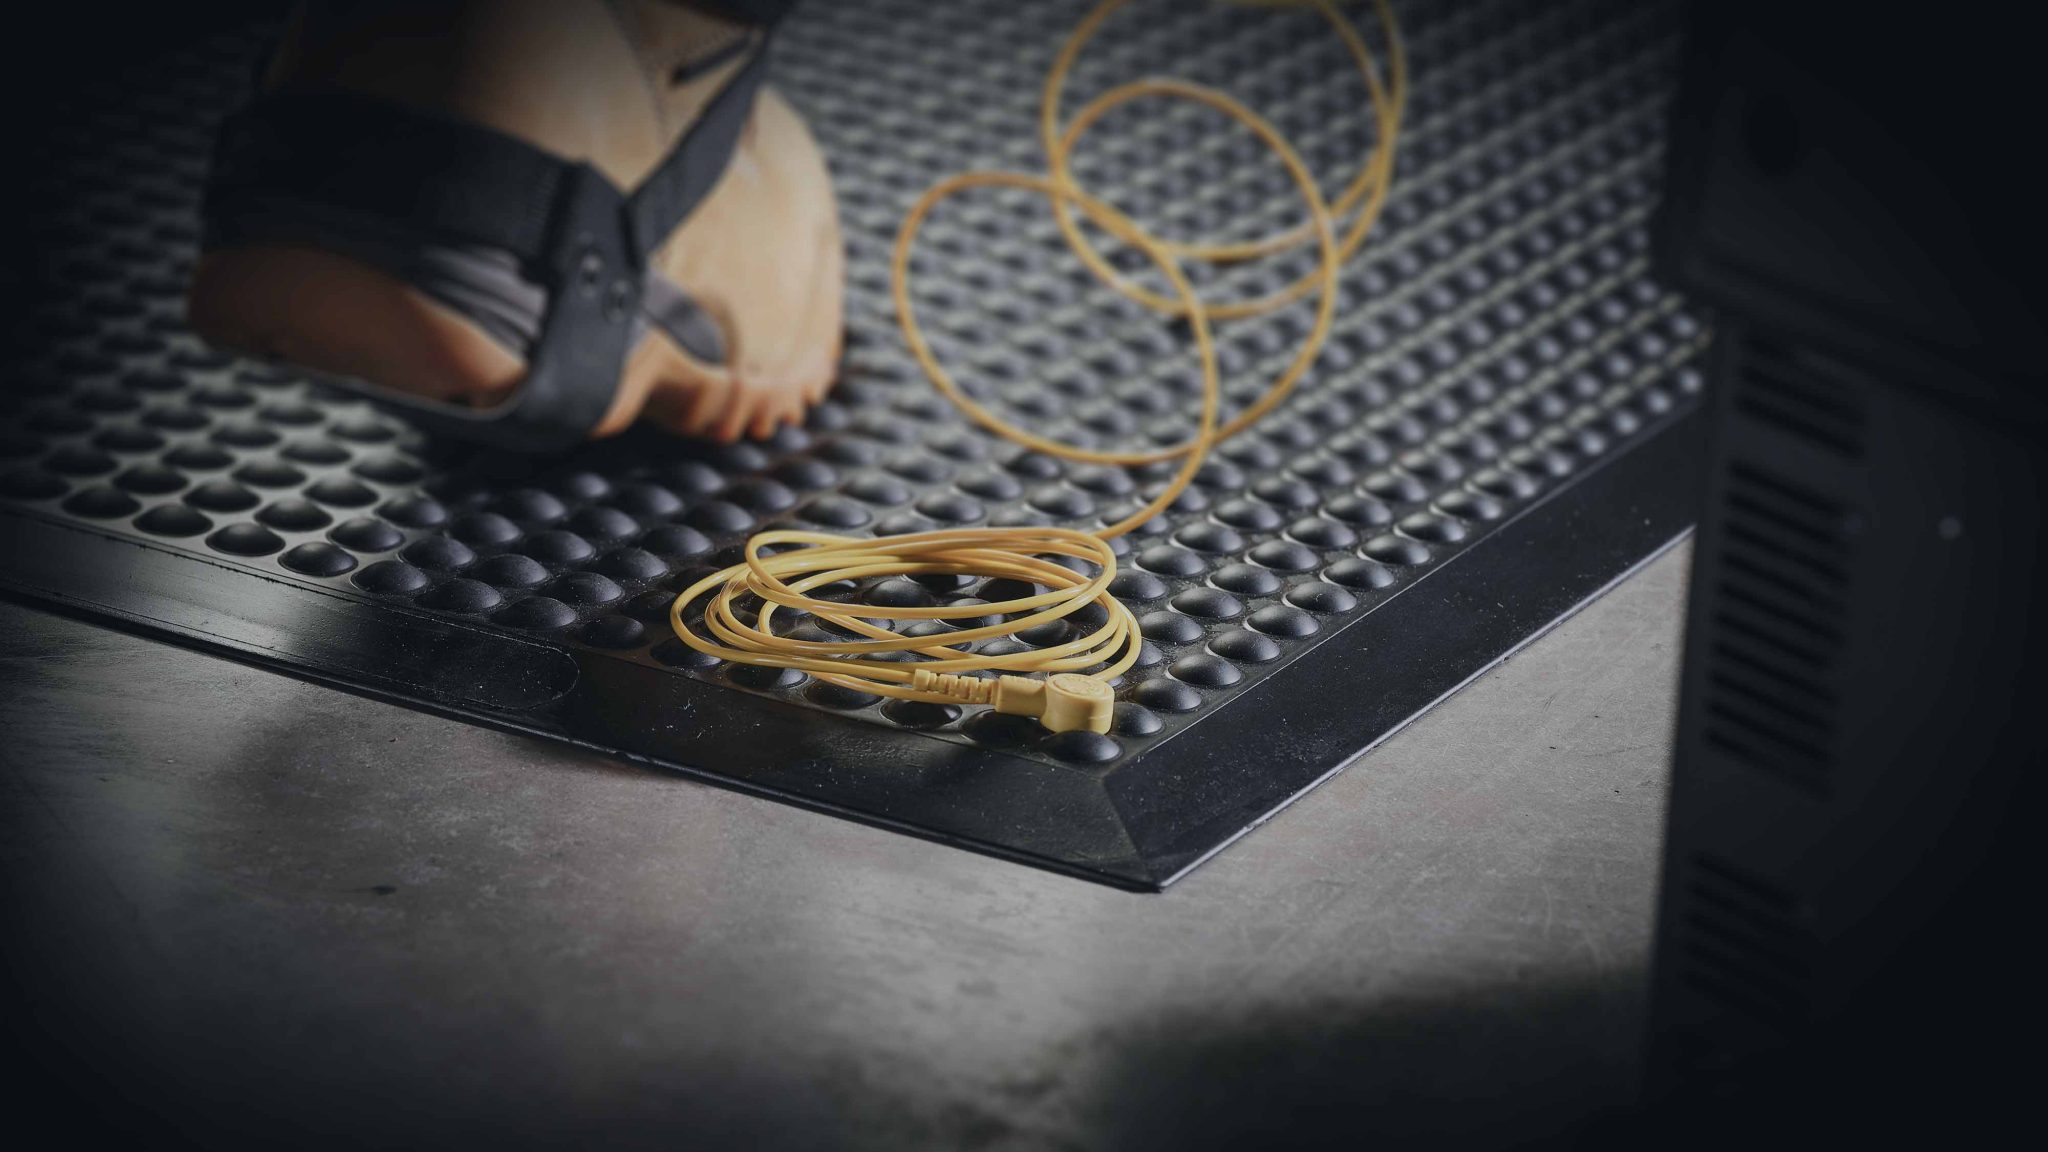
• Grounding cords and plugs
• Common point ground
• Wrist straps (where required)
The result:
A fully controlled environment where static is managed from the ground up.
What Actually Matters When Choosing an ESD Matting System
Start with How Your Space Really Works (Not How You Think It Works)
Before choosing anything, ask:
• Are people mostly stationary or constantly moving?
• Is this a dedicated workstation or a shared space?
Why it matters: Choosing the wrong setup here creates blind spots in your protection.
Result: A system designed around real-world use, not assumptions.
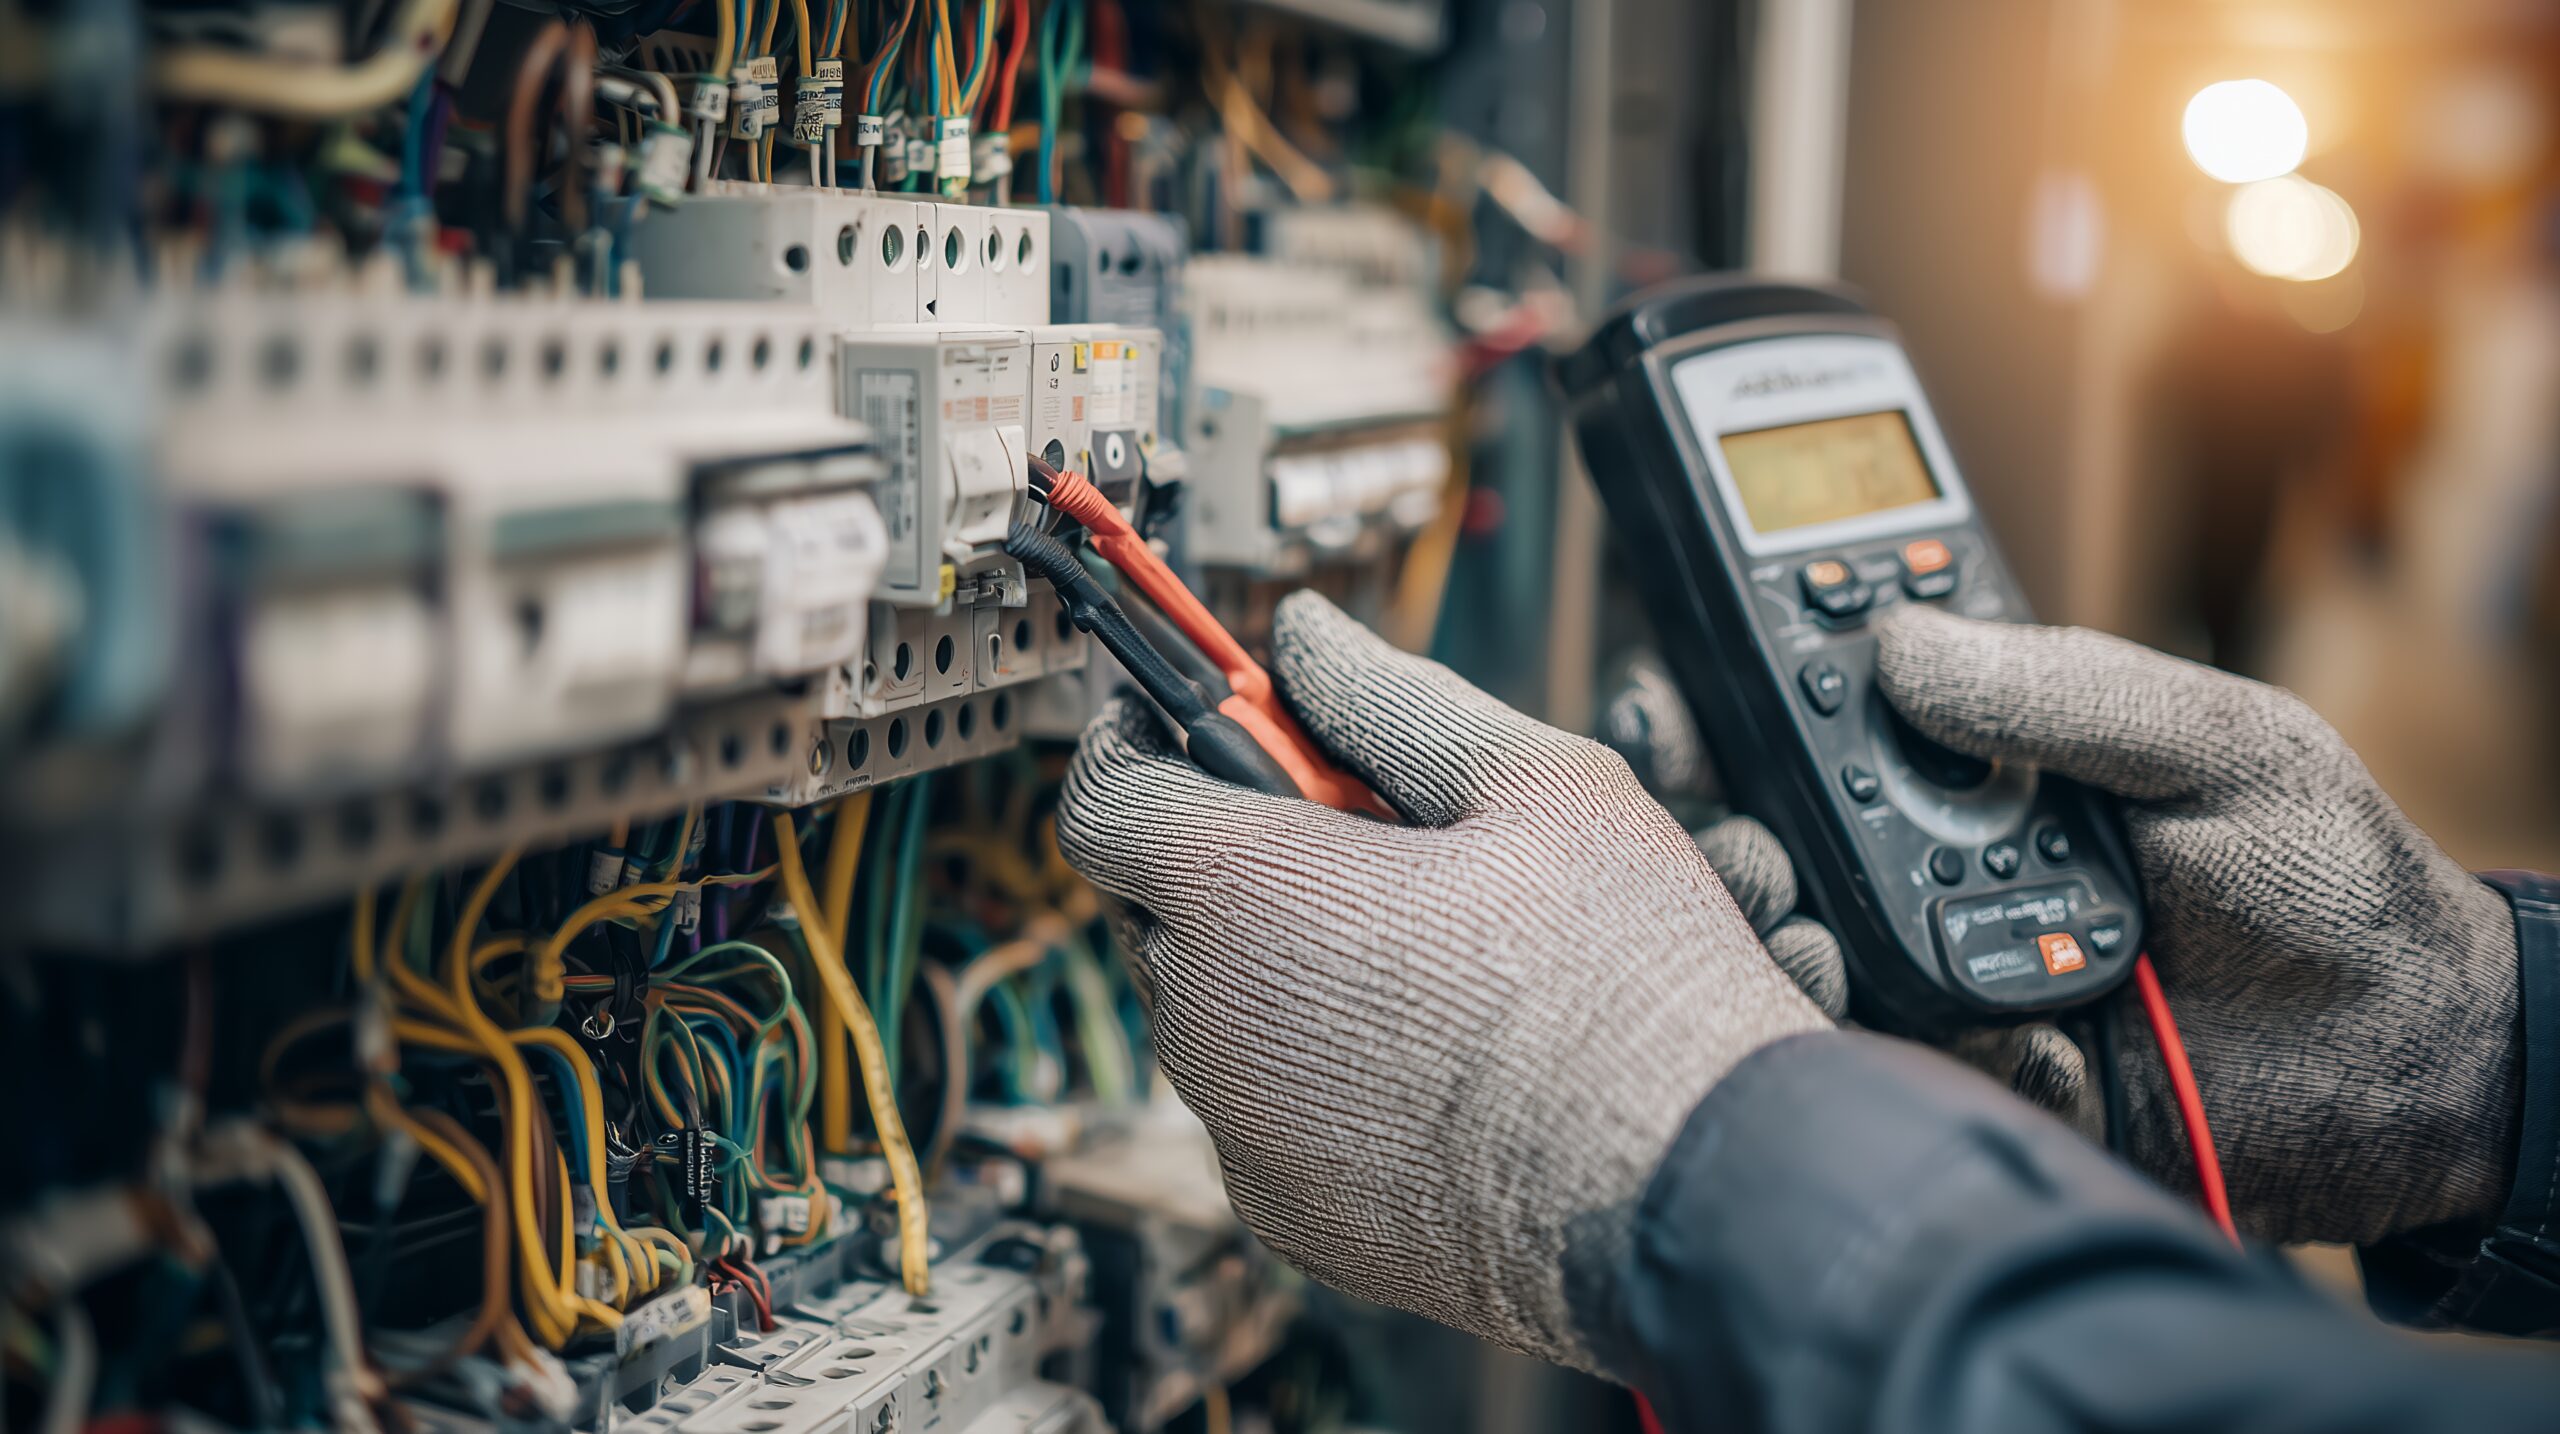
Resistance: The Detail That Quietly Determines Performance
Not all ESD mats behave the same. Their effectiveness comes down to resistance, which controls how quickly static is dissipated.
• Too low → discharge happens too fast (can damage components)
• Too high → static lingers (risk remains)
To understand the correct range, read our buying guide on ESD Mat resistance.
Result:
Controlled, safe dissipation instead of unpredictable performance.
Grounding: The Step That Turns a Mat into a System
Here’s the hard truth.
An ESD mat without grounding is just a mat.
The solution:
Connect your system to a reliable path to earth using:
• Ground cords
• Earth bonding points
• Common point ground
We explain how it all works in our buying guide: “ESD grounding system explained”
Result:
Static has somewhere to go. Safely.
The Supporting Cast Most People Forget
Even the best mat won’t perform on its own.
Depending on your setup, you may need:
• Ground cords
• Wrist straps
• Common point ground units
Result:
Both the workspace and the operator are controlled, not just the surface.